
Show the QR code
The code has to be on a different screen from the iPhone you’re installing on: a computer, a tablet, or another phone.- Website: sign in at onroamly.com/my-esims, open the eSIM and tap Scan QR code.
- Roamly app: open the plan and tap Install on another device.
Scan it
1
Open Settings on the iPhone
Go to Settings → Mobile (older iPhones say Mobile Service or Mobile Data; some regions say Cellular) and tap Add eSIM.
2
Choose Use QR Code
Point the camera at the code on the other screen. iOS recognises it and offers to add the eSIM.
3
Tap Activate
iOS opens Settings and asks to activate your eSIM. Tap Activate. The message about sharing your EID with the service provider is normal: it’s how every eSIM is delivered to a phone.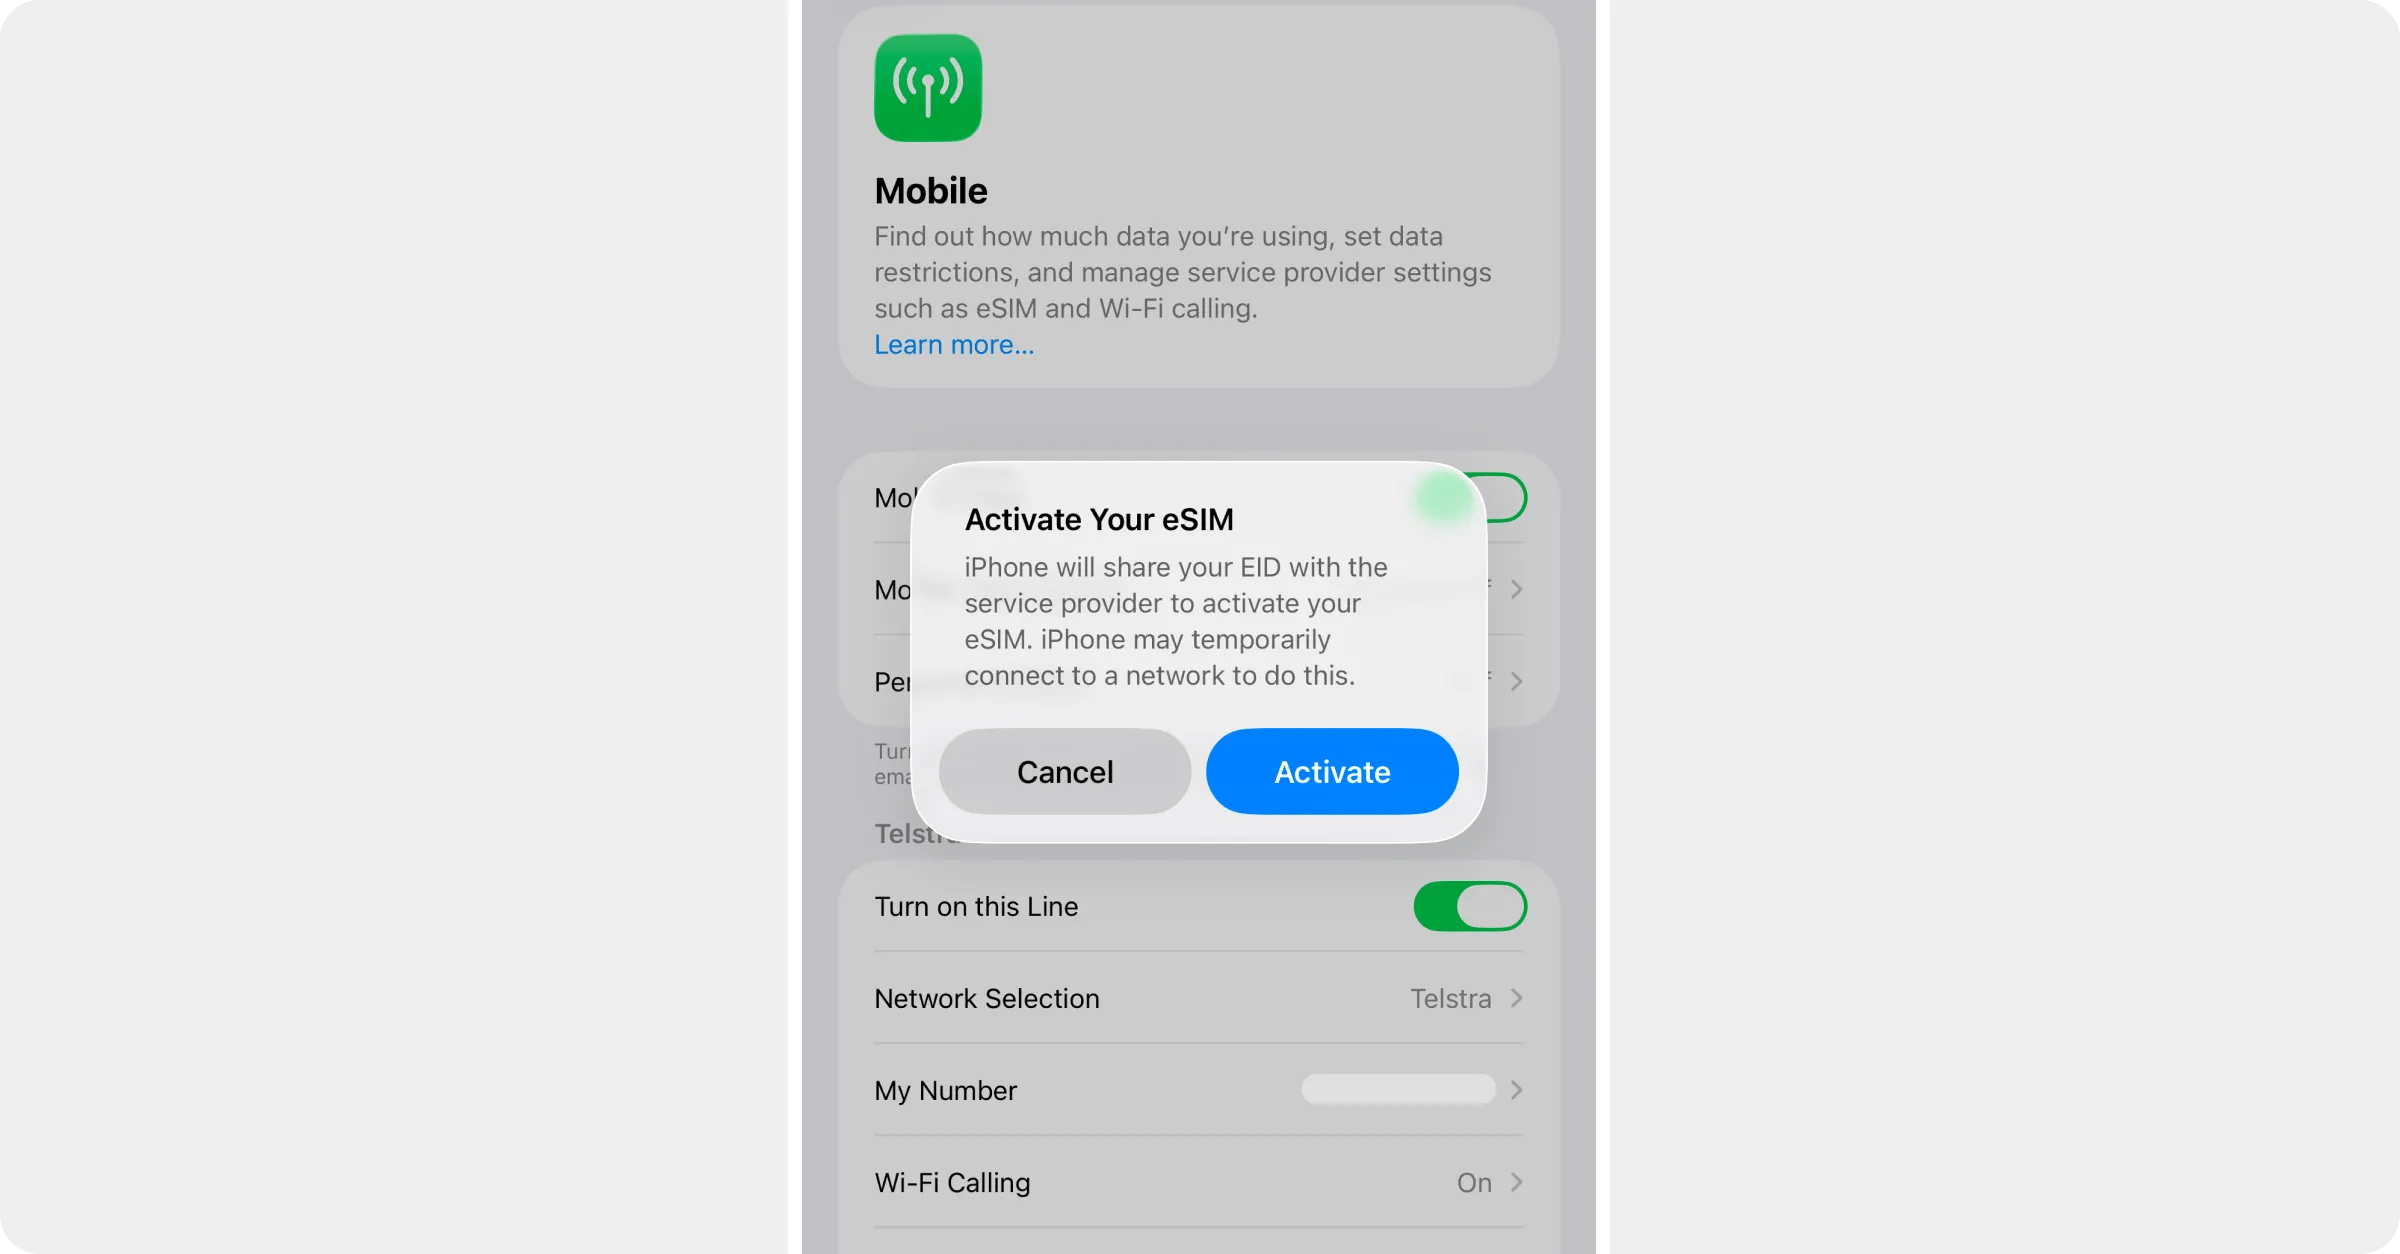
4
Follow the prompts
Give the line a label like Travel, keep the normal SIM as the default for calls and messages (Roamly is data-only), and keep it for mobile data for now.
5
Switch the Roamly line off until you land
Back in Mobile, tap the Roamly line and turn Turn on this Line off. Turn it on when you arrive.
Manual setup (no camera, or the code won’t scan)
You’ll need two values from the same place as the QR code.- Website: open the eSIM, tap Manual setup, and copy the SM-DP+ address and the Activation code.
- Roamly app: open the plan, go to More → Technical → Manual activation and copy the code. It’s one line that starts with
LPA:1$. The part between the first and second$is the SM-DP+ address; everything after the second$is the activation code.
1
Open the manual entry screen
On the iPhone, go to Settings → Mobile → Add eSIM → Use QR Code, then tap Enter Details Manually at the bottom of the camera screen.
2
Paste the two values
Paste the SM-DP+ address and the activation code into their fields. Leave any other field blank, then tap Next.
3
Finish like the QR code method
Same prompts as above: label it, keep your normal SIM for calls and messages, keep it for data for now, then switch the Roamly line off until you land.
Before you fly
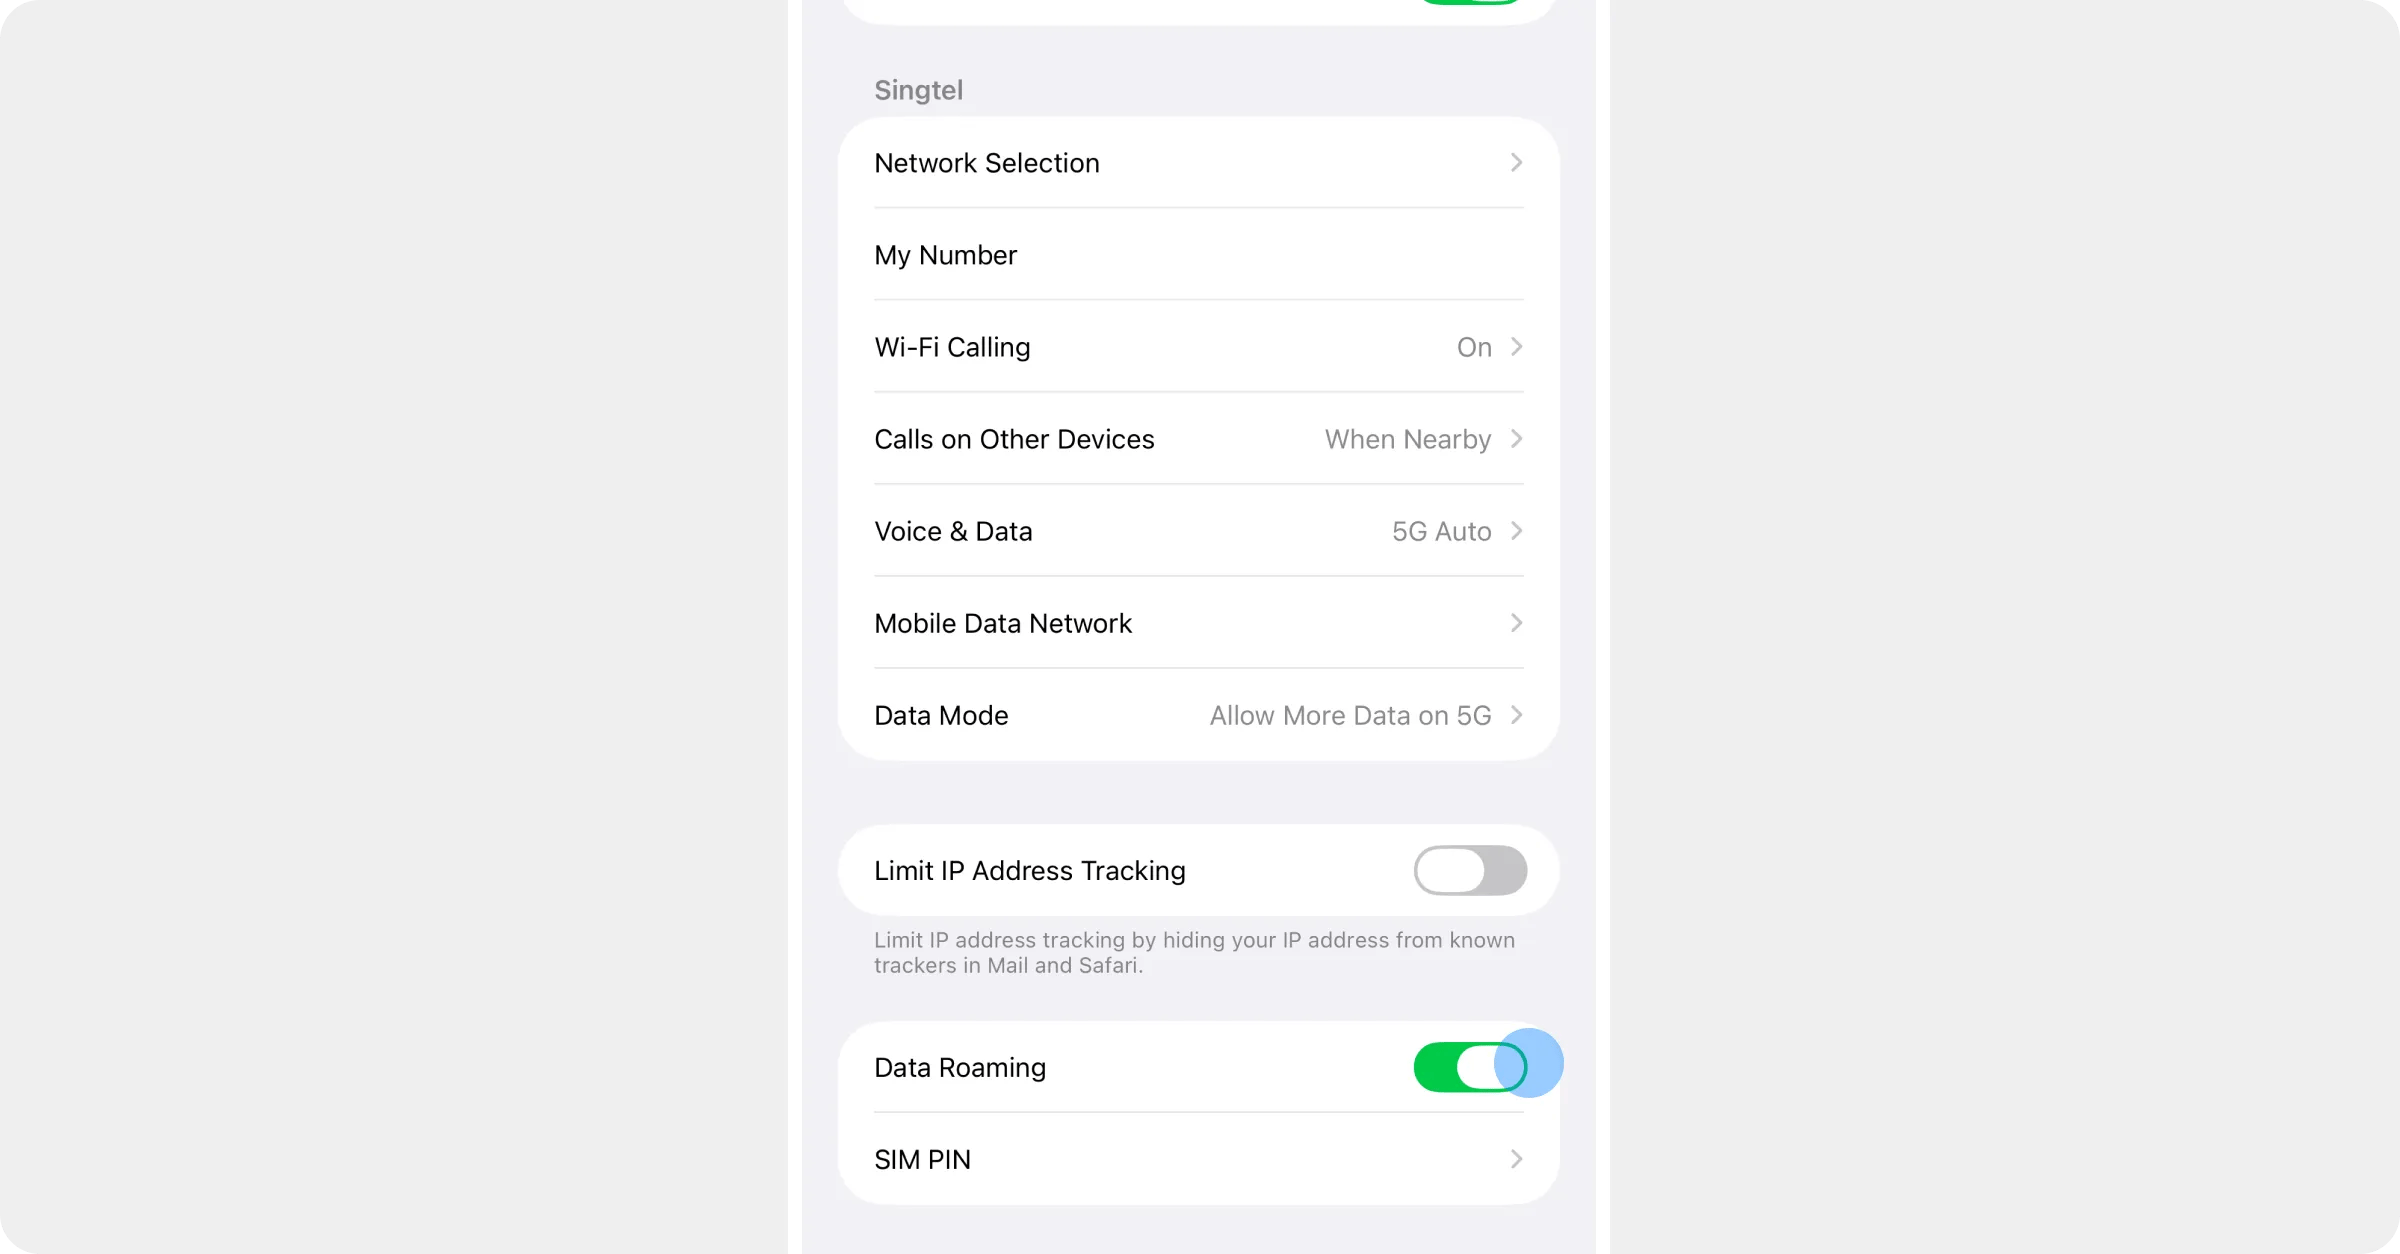
Turn off Data Roaming on your normal SIM while you’re still at home: Settings → Mobile, tap your normal SIM under SIMs (usually labelled Primary), Data Roaming off. That’s what stops your home carrier charging you overseas. If you won’t need calls or texts on your number while you’re away, you can turn that line off entirely instead. When you land, follow Just landed? How to activate your eSIM.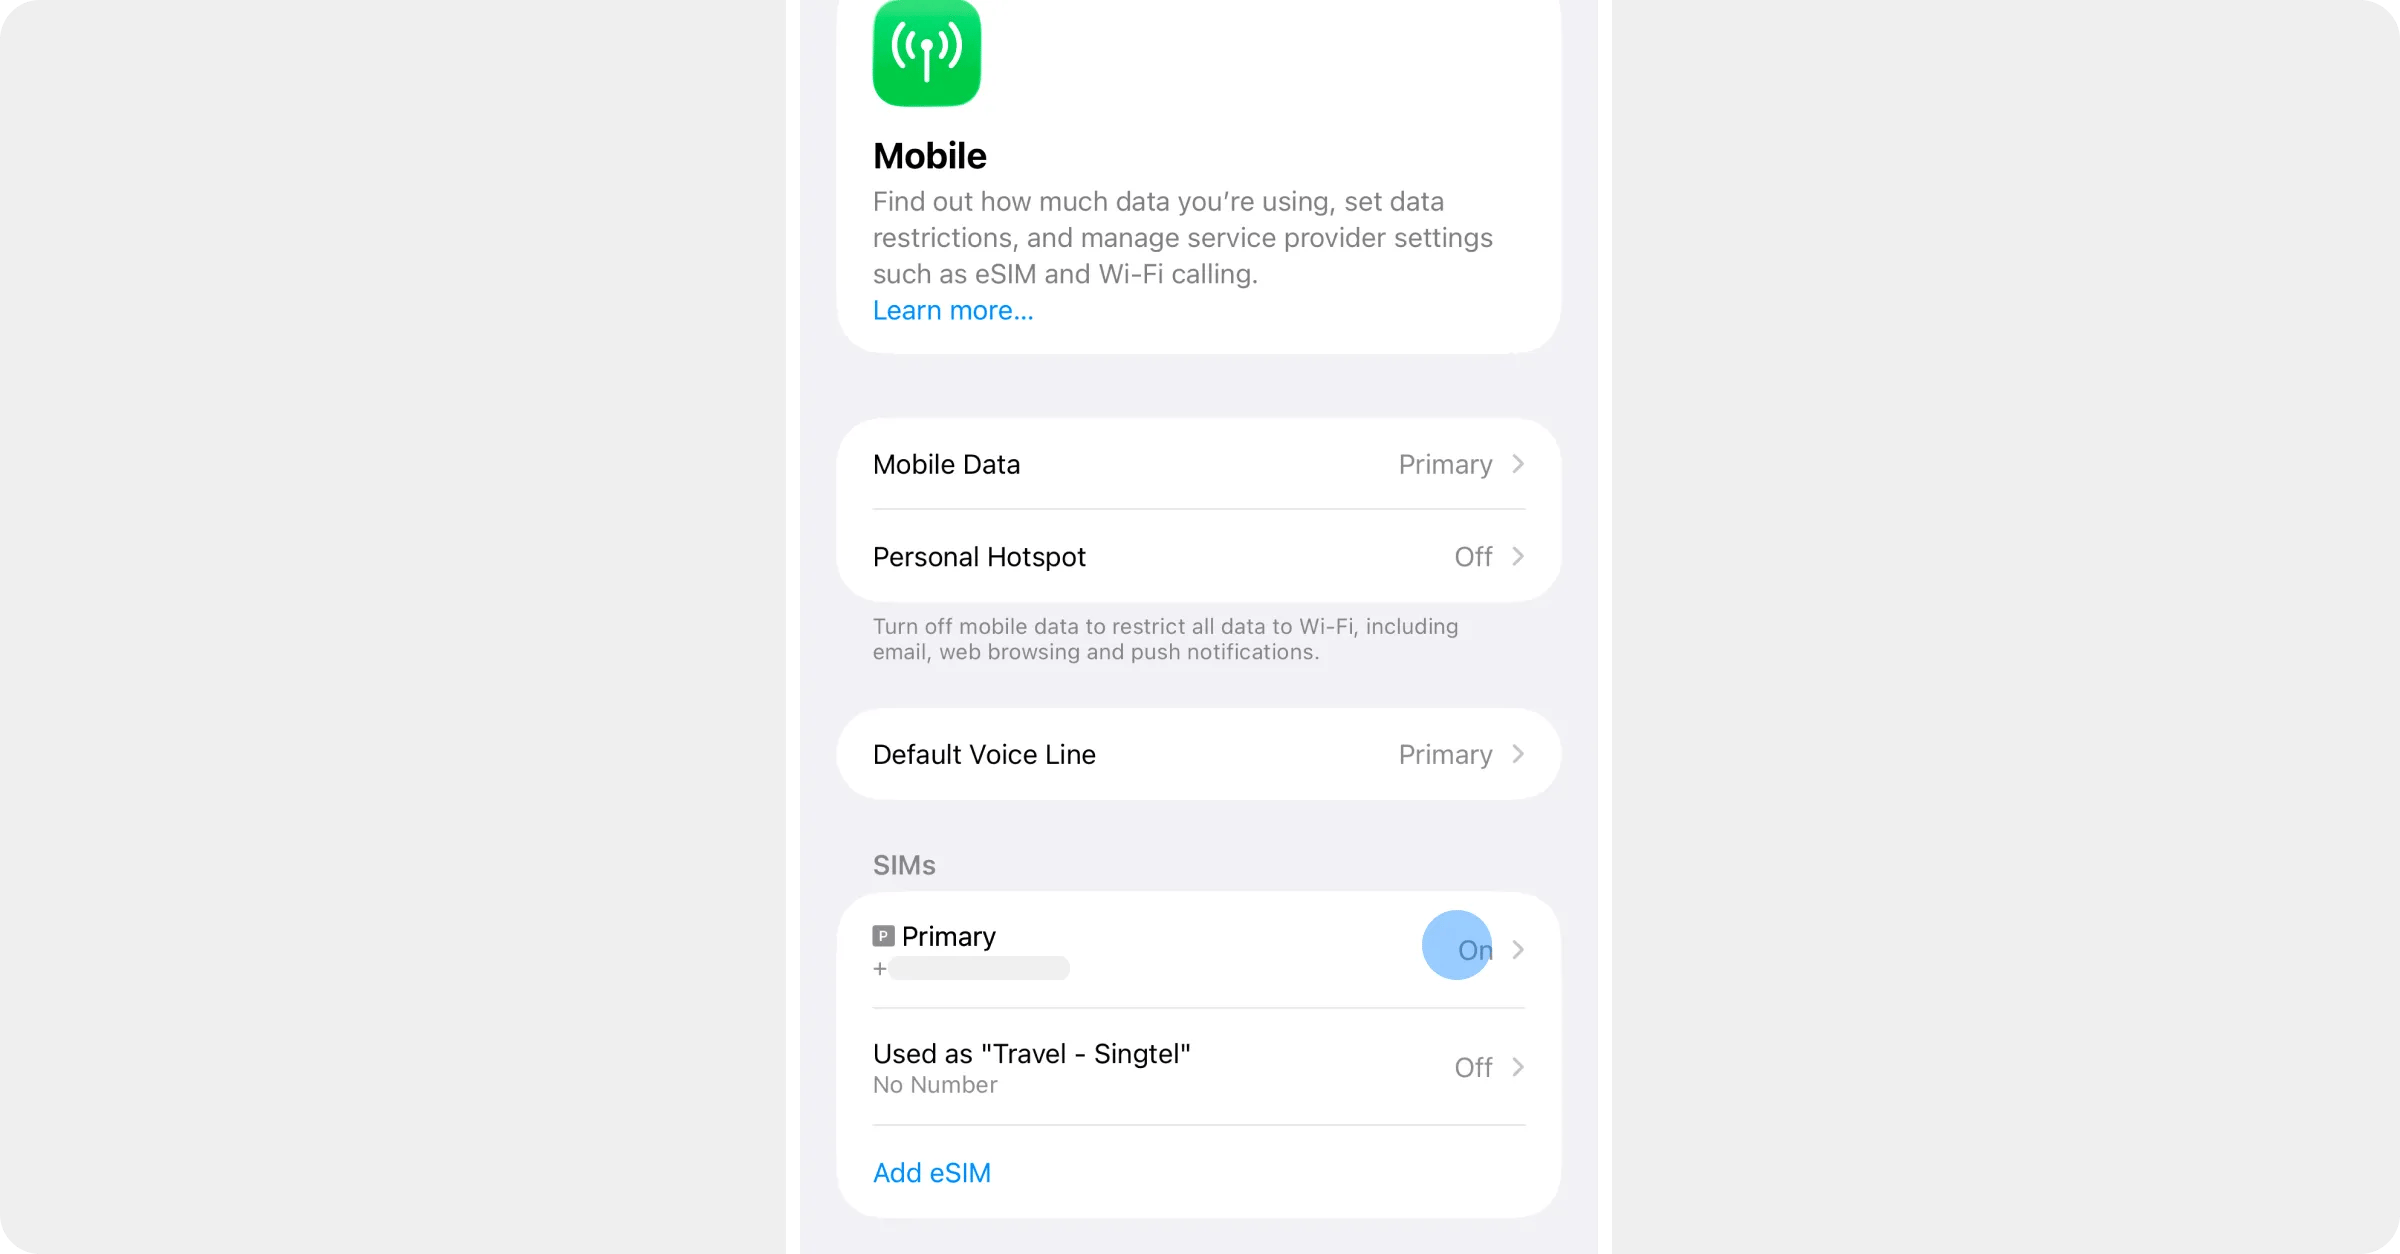
Something not working?
- iOS says the code is invalid or already used? The eSIM is probably already on another phone. See I deleted my eSIM, or installed it on the wrong phone.
- Anything else: My eSIM won’t install.