> ## Documentation Index
> Fetch the complete documentation index at: https://support.onroamly.com/llms.txt
> Use this file to discover all available pages before exploring further.
# Getting around the Roamly app
> The globe, the four tabs, where Settings lives, and a few shortcuts. iPhone and Android are laid out the same way.
The app opens on a globe. Everything else sits in a panel over it, with four tabs along the bottom. Drag the panel down to see more of the globe, or up for more room. The iPhone and Android apps are laid out the same way.
## The four tabs
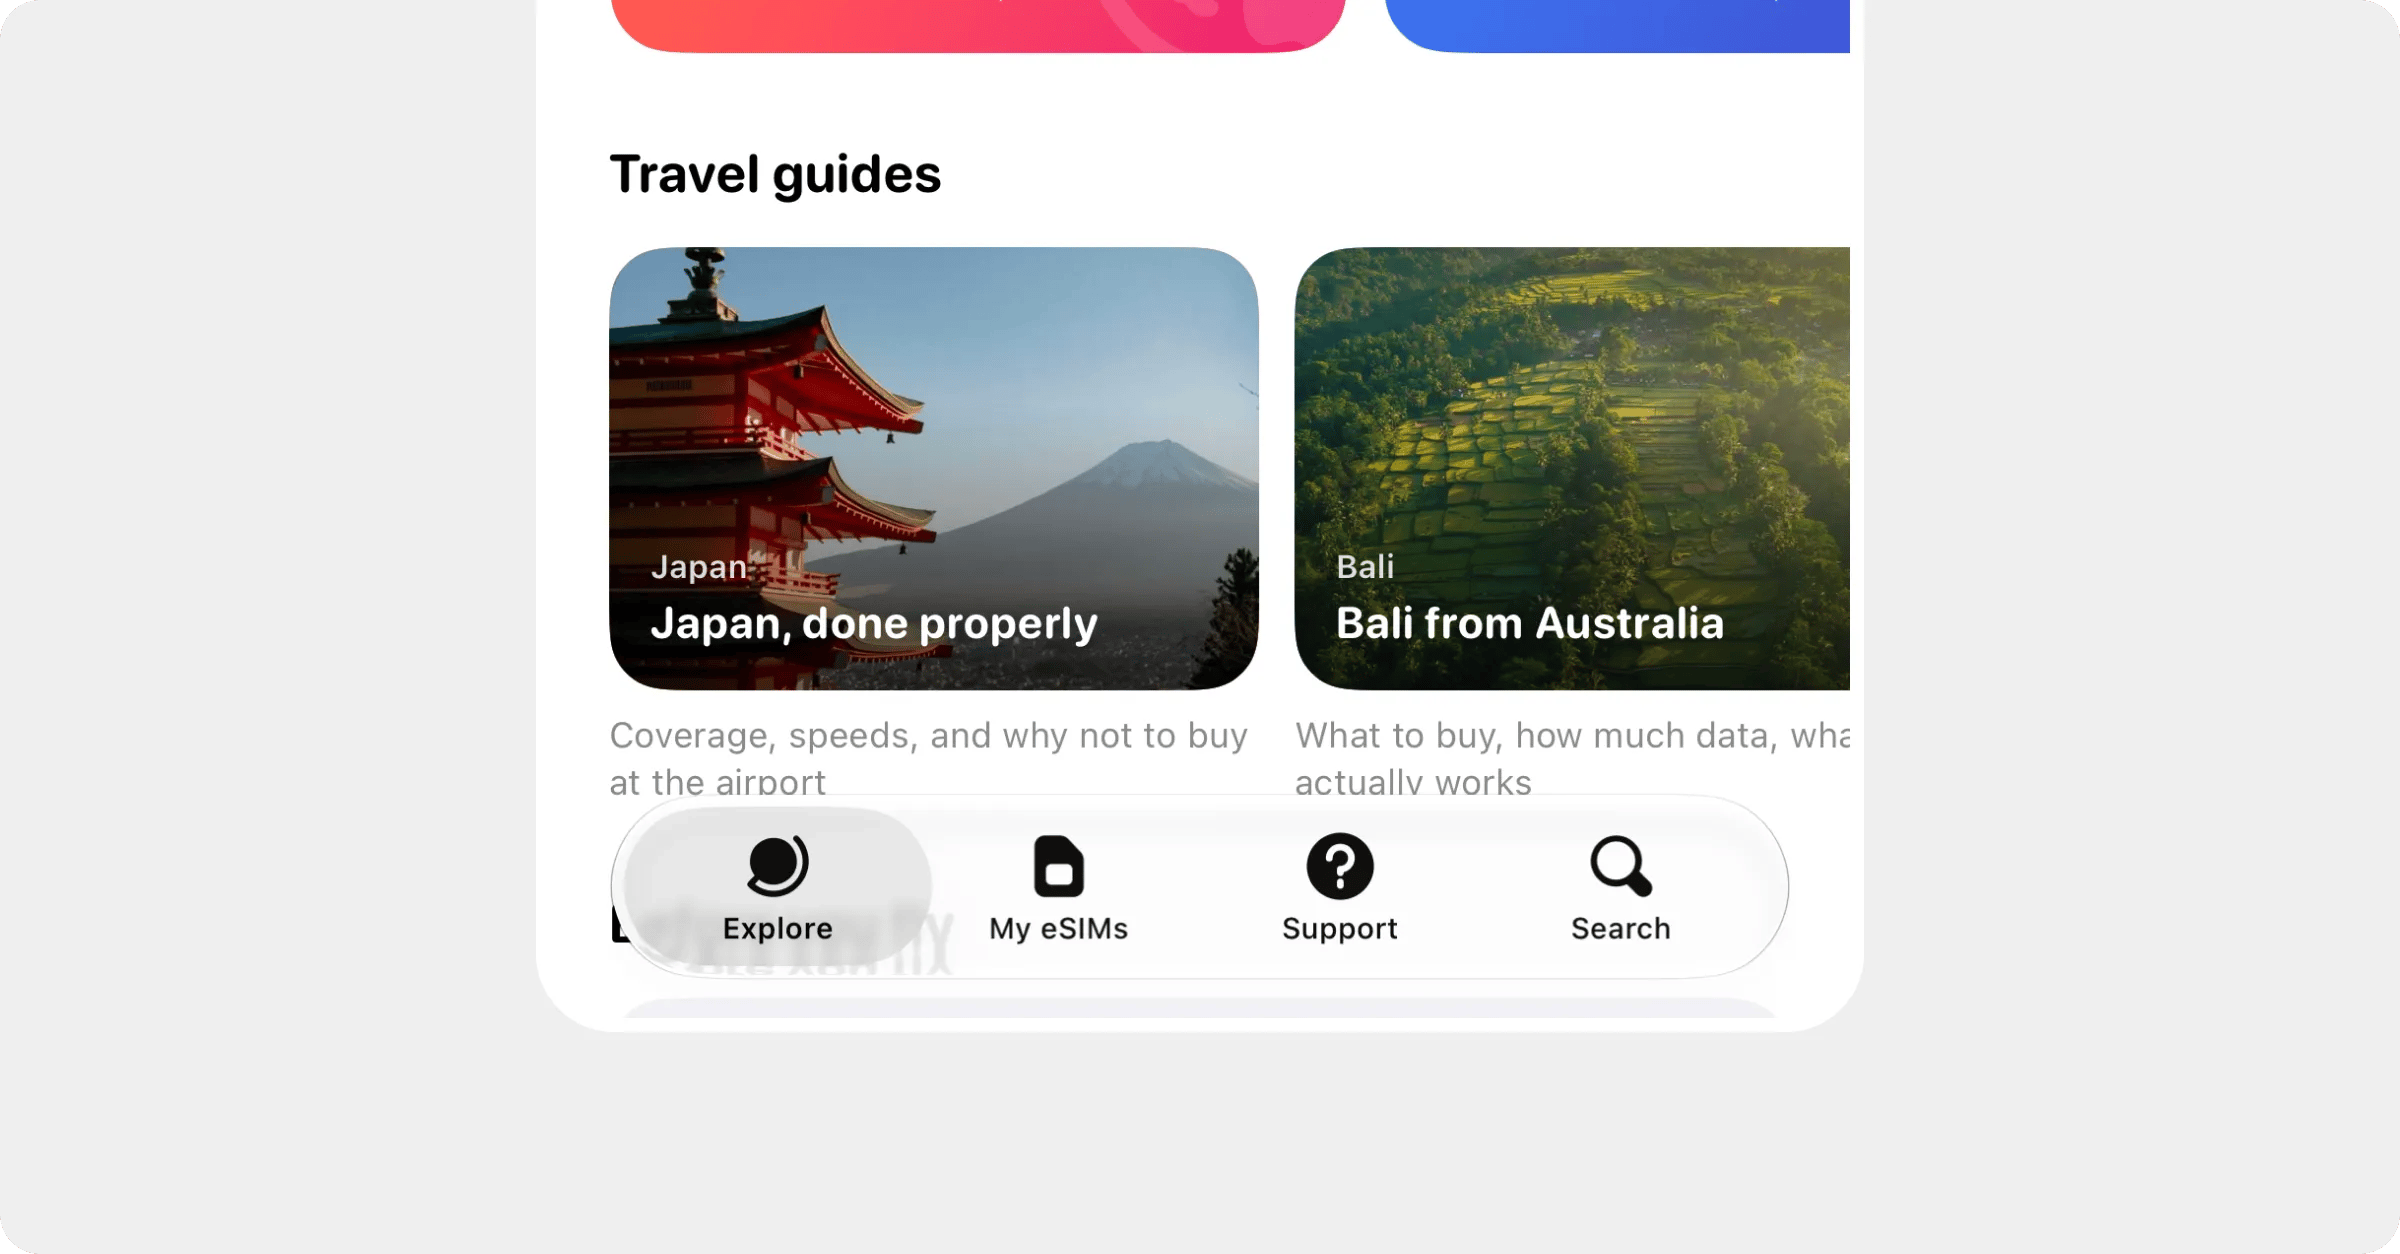 * **Explore** is the globe, plus top destinations and travel guides from us. Tap a country on the globe, or a destination card, to see its plans.
* **My eSIMs** lists every plan you've bought, newest first, with where it's up to. Tap one to open its plan page: install, top up, usage, receipts and setup guides all live there.
* **Support** is where you chat with our team, and it has this whole help centre built in.
* **Search** is the magnifying glass. Type a country, a city or a region, or browse **All countries** and **Regional plans**.
## Settings and your account
* **Explore** is the globe, plus top destinations and travel guides from us. Tap a country on the globe, or a destination card, to see its plans.
* **My eSIMs** lists every plan you've bought, newest first, with where it's up to. Tap one to open its plan page: install, top up, usage, receipts and setup guides all live there.
* **Support** is where you chat with our team, and it has this whole help centre built in.
* **Search** is the magnifying glass. Type a country, a city or a region, or browse **All countries** and **Regional plans**.
## Settings and your account
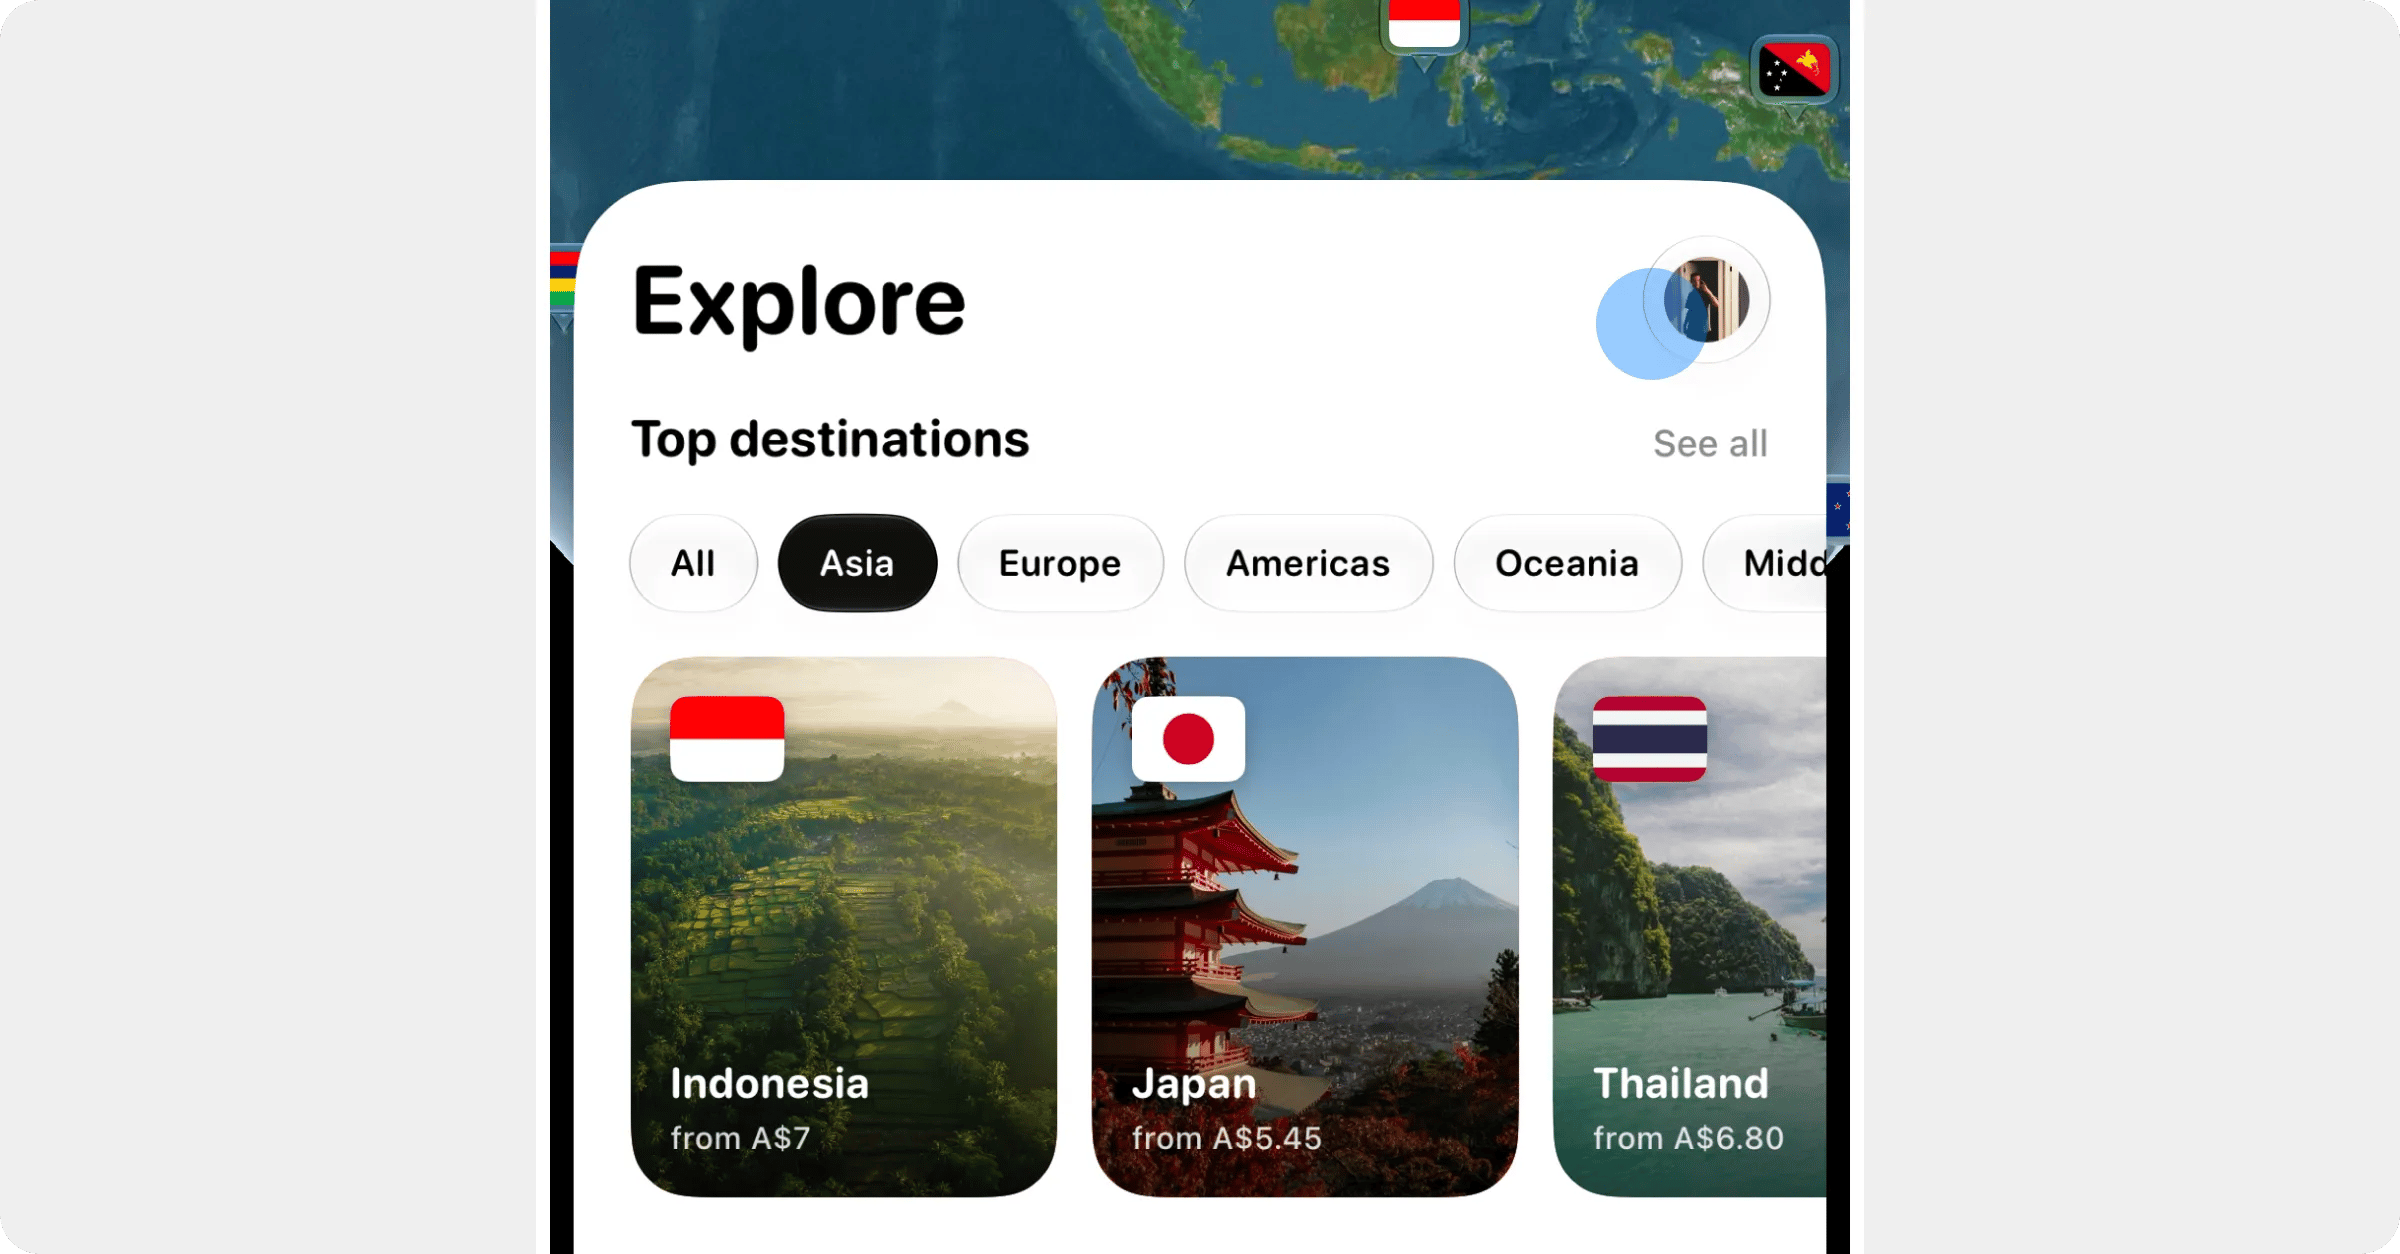 Tap your profile picture at the top right of any tab. If you're signed out it's a person icon, and **Sign in or up** is at the top of the page it opens.
Settings has your profile, **Rewards**, **Security** (password, passkeys and deleting your account), **Billing** (every payment and its receipt), **Notifications** and **Appearance**.
## Where to find things
| To do this | Go here |
| - | - |
| Buy a plan | **Search**, or tap the country on the globe |
| Install your eSIM | **My eSIMs** → your plan → **Install** |
| Show a QR code for another phone | **My eSIMs** → your plan → **Install** → **Show QR code** |
| Top up or check usage | **My eSIMs** → your plan |
| See your Roam Coins or referral code | The Roam Coins button over the globe, or Settings → **Rewards** |
| Find a receipt | Settings → **Billing**, or **Receipts** on the plan |
| Change your email or password | Settings → **Edit Profile** or **Security** |
| Chat with us | **Support** |
## Shortcuts
* **Press and hold an eSIM** in My eSIMs for a quick menu: install, top up, usage, coverage, receipts, rename and contact support, depending on where the plan is up to.
* **Press and hold the Roamly icon** on your home screen to jump straight to **Search destinations**, **My eSIMs**, **Rewards** or **Chat with us**.
* **Add the Roamly widget** to your home screen to see data left and days left without opening the app.
## Don't have the app yet?
See [Get the Roamly app](/getting-started/get-the-app). It's the same account as the website, so anything you bought there is already in **My eSIMs**.
This documentation is built and hosted on [Mintlify](https://mintlify.com), a developer documentation platform.
Tap your profile picture at the top right of any tab. If you're signed out it's a person icon, and **Sign in or up** is at the top of the page it opens.
Settings has your profile, **Rewards**, **Security** (password, passkeys and deleting your account), **Billing** (every payment and its receipt), **Notifications** and **Appearance**.
## Where to find things
| To do this | Go here |
| - | - |
| Buy a plan | **Search**, or tap the country on the globe |
| Install your eSIM | **My eSIMs** → your plan → **Install** |
| Show a QR code for another phone | **My eSIMs** → your plan → **Install** → **Show QR code** |
| Top up or check usage | **My eSIMs** → your plan |
| See your Roam Coins or referral code | The Roam Coins button over the globe, or Settings → **Rewards** |
| Find a receipt | Settings → **Billing**, or **Receipts** on the plan |
| Change your email or password | Settings → **Edit Profile** or **Security** |
| Chat with us | **Support** |
## Shortcuts
* **Press and hold an eSIM** in My eSIMs for a quick menu: install, top up, usage, coverage, receipts, rename and contact support, depending on where the plan is up to.
* **Press and hold the Roamly icon** on your home screen to jump straight to **Search destinations**, **My eSIMs**, **Rewards** or **Chat with us**.
* **Add the Roamly widget** to your home screen to see data left and days left without opening the app.
## Don't have the app yet?
See [Get the Roamly app](/getting-started/get-the-app). It's the same account as the website, so anything you bought there is already in **My eSIMs**.
This documentation is built and hosted on [Mintlify](https://mintlify.com), a developer documentation platform.